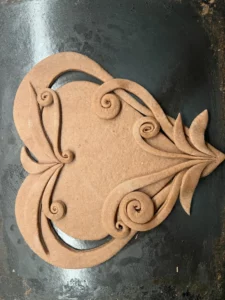
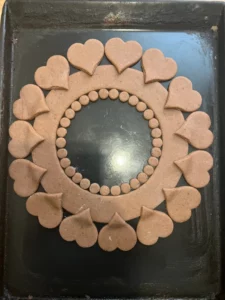
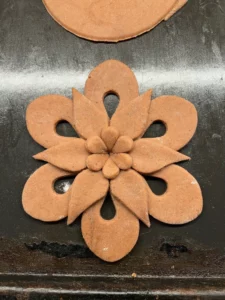
In this lesson, I'll show you my greatest magic trick. At all my author's exhibitions, people admire not only my decorating but also the gingerbread shapes themselves. Most of them ask: "How on earth did you make this?"
"Assembled gingerbread has an infinite number of variations. Experiment. It's an incredible joy."


Once you understand the process of assembling gingerbread, you'll find it incredibly easy to create pieces that will leave people in awe. But before we get to the video, you need to master three key secrets that will guarantee a perfect result.
Step 1: Cutting Out the Gingerbread
You'll find instructions for cutting out gingerbread in a separate chapter, so I've left this part out of the video lesson. The important thing is to cut out identical shapes so you can assemble them precisely.
Step 2: Assembling on the Baking Sheet
In this video, you'll see how to create two unique designs from the same shapes. Remember to place the shapes together loosely. Don't press them together so they don't lose their shape.
Watch the tutorial video
Step 3: Baking and Polishing the Gingerbread
In this video, you'll see how to easily achieve a beautiful shine. I'll show you that glazing is key for these gingerbread pieces, as it makes them look stunning and helps the icing stick better
Tip for you
Always let your gingerbread cool completely on the baking sheet after baking before you handle it. If the gingerbread isn't cooled enough, its surface will wrinkle.
